This year we decided to try onions and potatoes in the vegetable garden. In previous years we did tomatoes and bell peppers, but we were always battling blight with the tomatoes. We also don’t use that many tomatoes in the kitchen, so we picked crops that seemed more useful.
We ordered our potatoes from Ronniger Potato Farm (www.ronnigers.com). They carry a wide variety, so we chose a couple that sounded good. Carola was our first selection. These are a very typical German yellow potato. Our second selection was Red Pontiac. This one we selected because it was supposed to do well in the south. We also decided to test some regular Russets we bought at the grocery store.
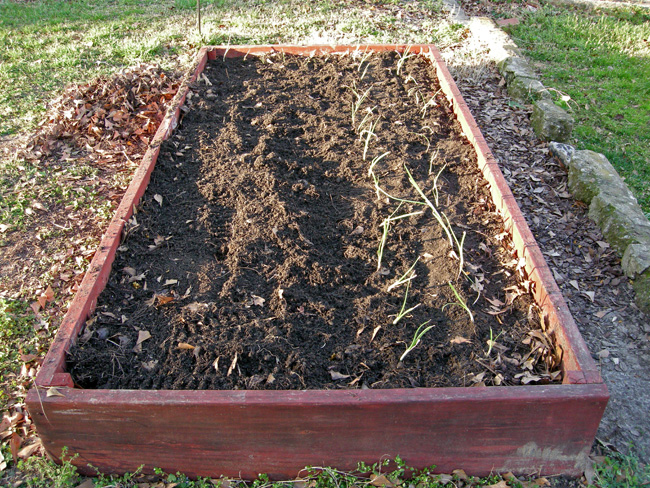
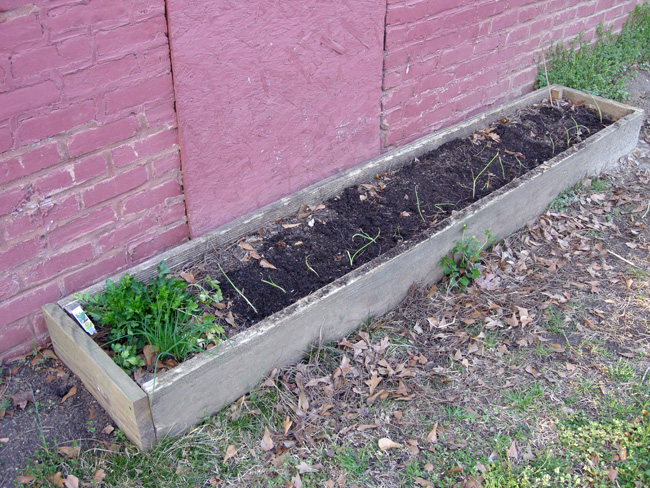
The potatoes popped right up and grew really well during the spring. Our hot summer however caused them to die a little early, but I think we got a nice little crop for our first attempt. We still have some in the raised bed along the side of the house. We’ll see how long they can hold on.
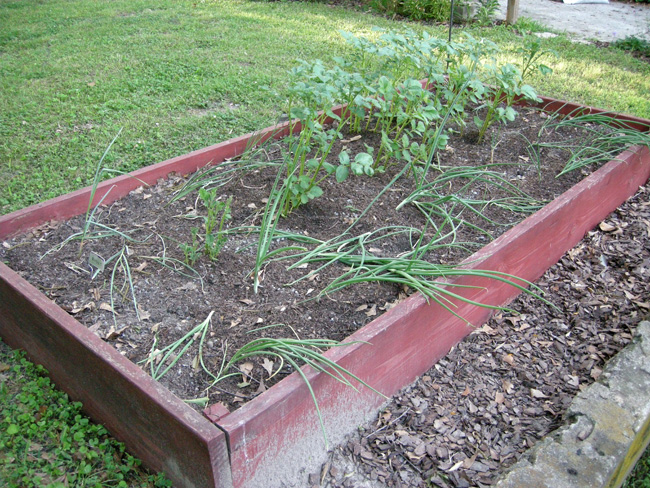
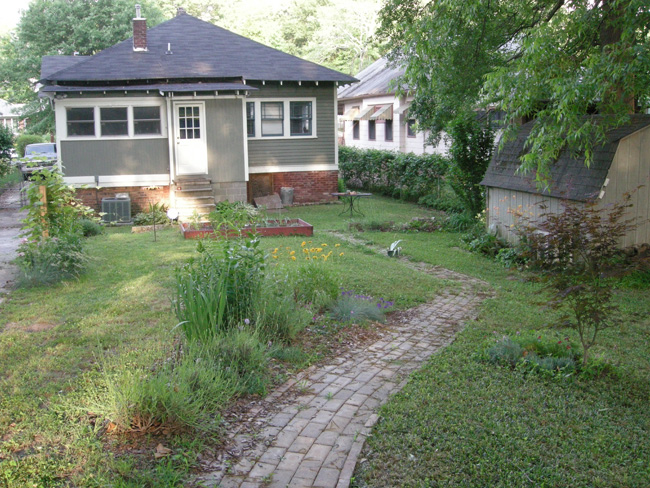
Raised Potato and Onion Bed
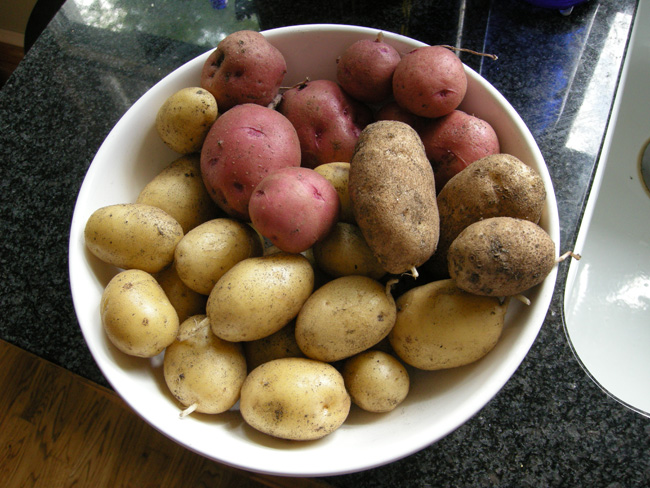
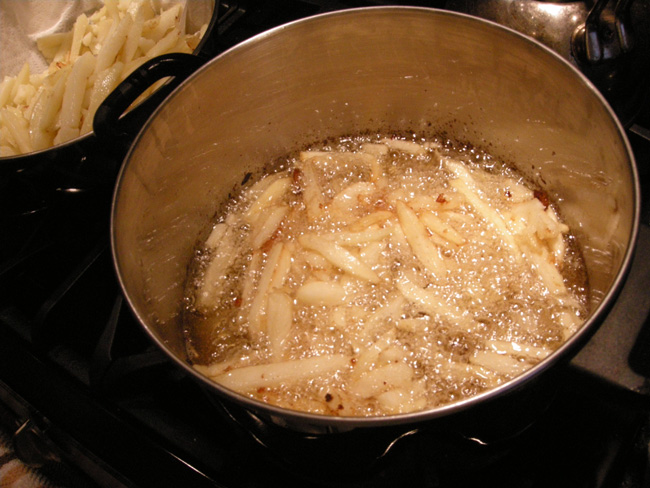
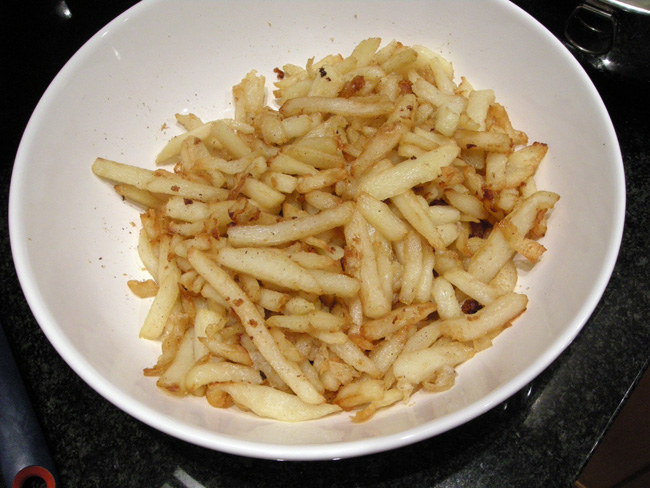
Backyard Garden Potatoes
For the onions we just grabbed a bundle of Texas sweet onions from Lowes. They should have gone in the ground earlier, but we still got to enjoy some tasty onions from the garden.
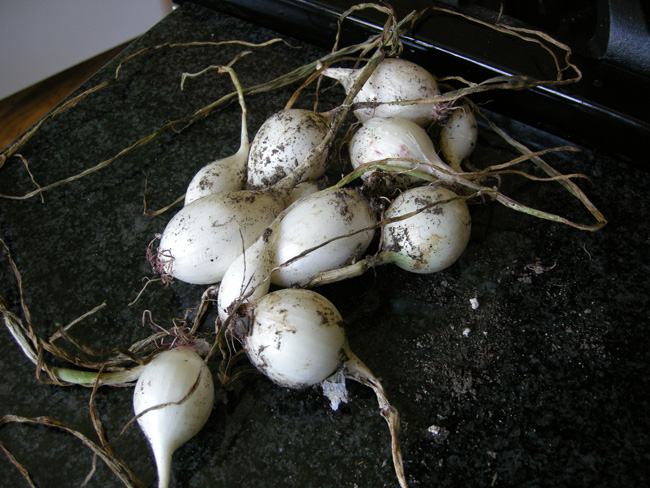
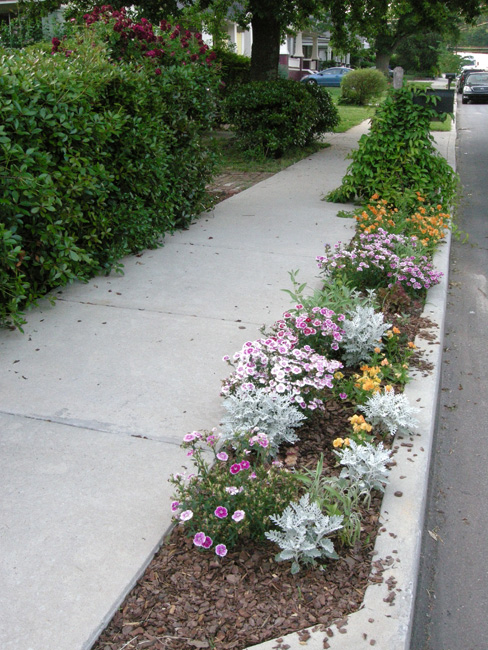
Garden Onions
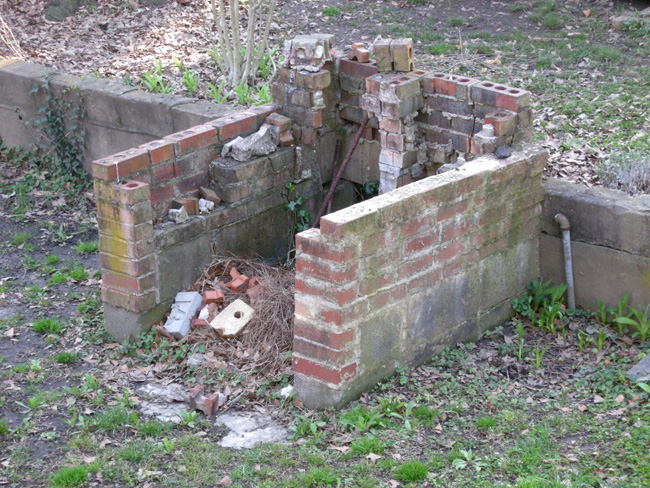
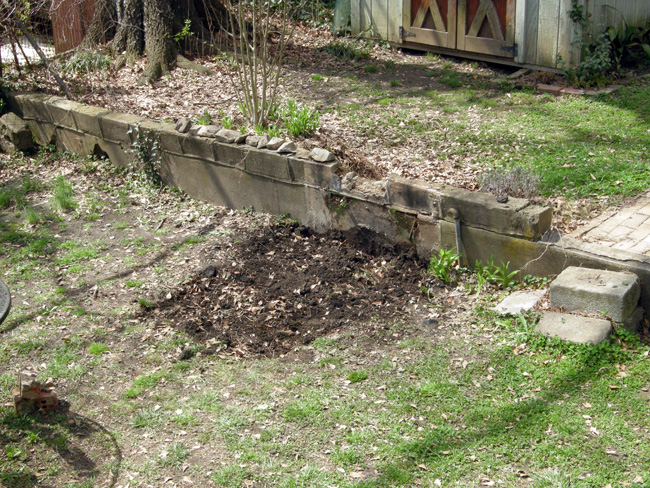
The big bed has been replanted with pumpkin plants we grew from seeds. They seem to be really healthy, so hopefully come October we’ll have some nice fall decorations. We grew the plants from a pumpkin we bought last year at Jaemor Farms (www.jamsjellies.com) in North Georgia.
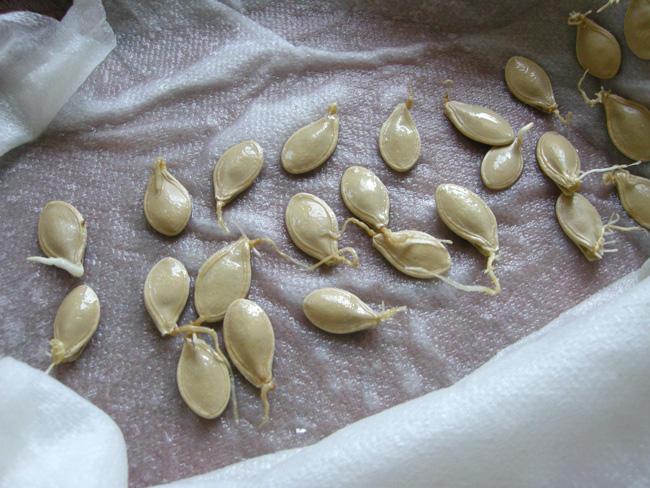
Starting Pumpkin Seeds
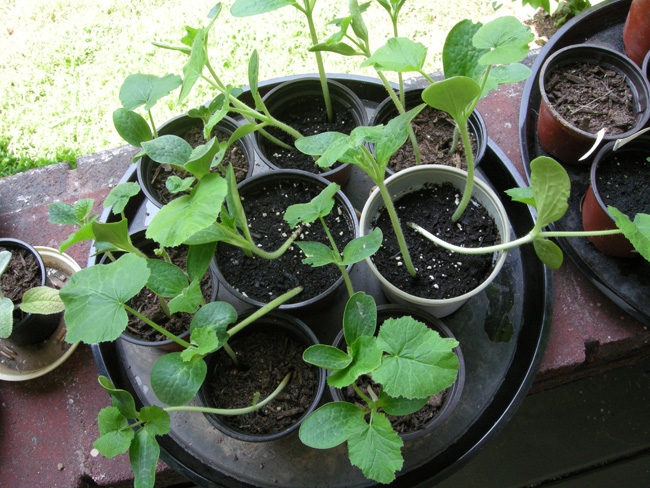
Young Pumpkin Plants