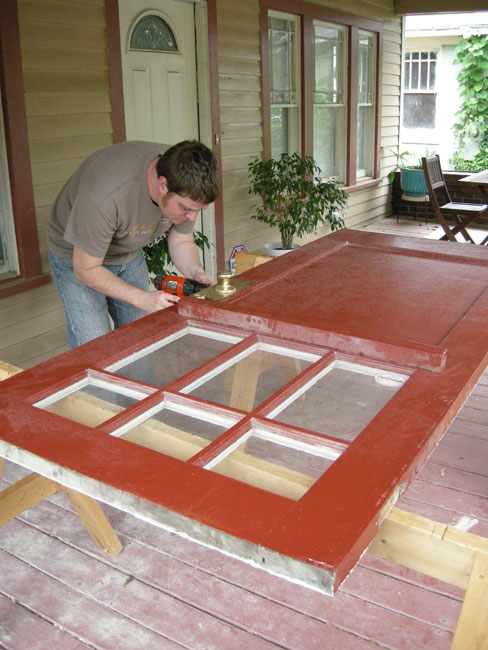
In the house painting entry I mentioned the unsatisfactory experience we had with getting our front steps redone, so I wanted to elaborate about our experience.
As I previously mentioned, since we were on a roll with getting the house painted we thought we might just as well tackle the stairs. I think it was actually a safety hazard. The steps were uneven and pieces were falling off. When you stepped on a certain spot the wrong way your foot could slip off with a piece of concrete. Needless to say it was in dire need of getting redone!
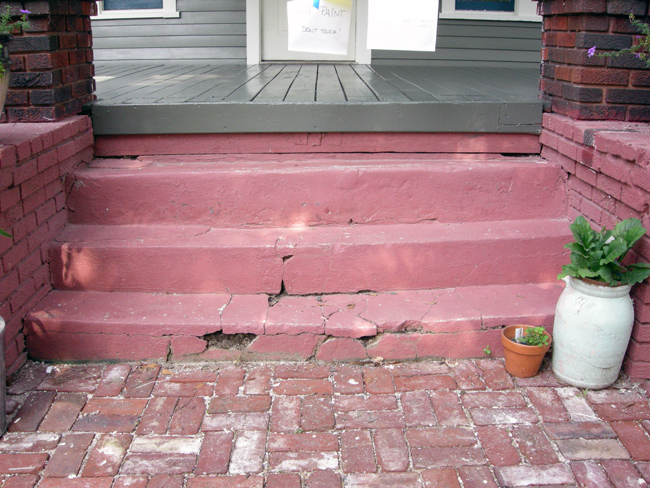
Old exterior entry stairs
When one of the painters mentioned that he had an acquaintance that did masonry work we got an estimate and told them to go ahead. They said they’d come at 11:00am the next day, which was fine with us as we’re not early birds.
11:00am came and went and the mason didn’t show up. Finally at noon we called our painter, asking about the mason. He said he was on the way. More time passed and still no sign of the mason. We called our painter and asked for the mason’s number so he wouldn’t have to be the middle man. When I called the mason he said he was on the way and asked where the nearest big box store was so they could pick up the materials.
Finally around 2:30pm the mason showed up – without materials. In hindsight we should have told him “adios” at that point, but of course it is our human nature to give the person the benefit of the doubt. So off him and his two guys went to pick up supplies. They came back around 3:30pm and started taking measurements and cutting up wooden boards to create a form. Additionally they tore out any loose cement.
The forms were placed on top of our historic salvaged brick path and we were like “uhmmmm, those are not supposed to be cemented into the stairs!” So they moved them. One thing that annoyed me about them is that they were so hectic. They were trying to do things so speedy (aside from arriving on time, of course) that it felt rushed. I think the whole time they were here my adrenaline was pumping because I was anxious that they would do everything well because it just felt so rushed.
I want to say they finally started pouring the first (bottom) step sometime after 4:00pm. You know, around the time when all other contractors usually clock out for the day. Then the second step was poured, then the third. I think on the third one they were starting to run low on materials and tried to scrape any last cement out of the bucket. Then we were told we had to wait about an hour for it to dry. At that point they would take the boards off and the cement would be hard enough to stay in place, but soft enough to round off the edges, smooth out the surface, etc.
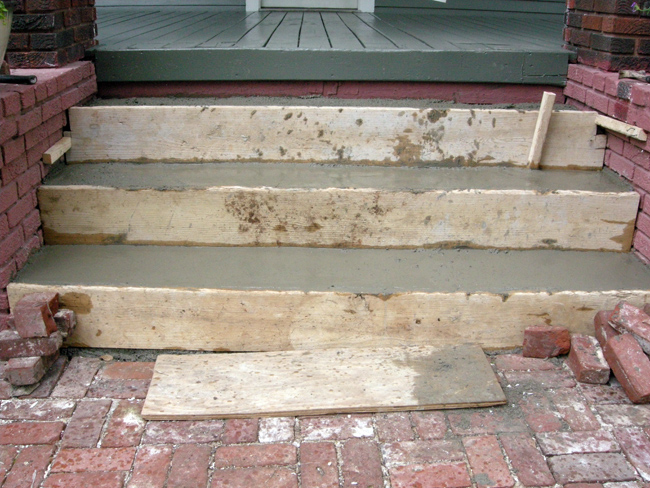
Pouring the concrete steps
Next is the step were I really think they got ahead of themselves. This goes back to what I was saying previously that they just felt so hectic the whole time they were here. They were too eager to get the job done and over with. I don’t know if they thought it would be a quick job to get money quickly or what. It was starting to be late in the work day and they probably wanted to get home soon. In any case, they took the boards off. The bottom step was fine. The second step was fine too. The third top step turned into a nightmare. It obviously had the least amount of time to dry, and it was the one were they ran out of cement powder so I think it may have been wetter than the other two steps as well. Next thing we knew the damn step was starting to collapse!
Cracking Wet Concrete
They kept trying to push it back in, but no matter what they did it kept sagging back down. After various attempts they determined they needed to buy another bag of concrete. Patrick and I had been frustrated with them from the beginning since they already showed up three and a half hours late. Needless to say we were quite frustrated by this point with all the things going wrong. After taking another hour to get the extra bag of supplies they attempted to fix the step, but the cement had already dried a certain degree so that we feared it would not blend in properly. After that they put a small board against it and told us to leave it on for another few hours.
By the time they left it was around 9:00pm. It was too dark to properly see how bad the damage would be. The next morning left us kind of unsatisfied. We were mad at the guys for arriving late, not being ready with materials, rushing through everything, not leaving sufficient time to showcase proper craftsmanship, and mad at ourselves for giving them the benefit of the doubt rather than recognizing the initial signs that this was not going to work out the way we wanted it.
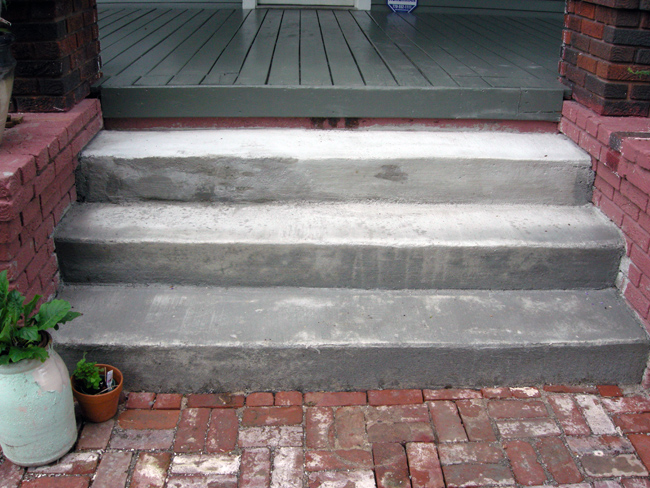
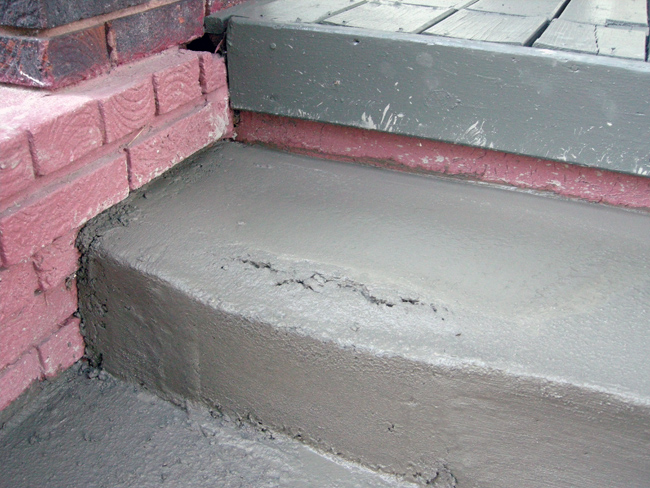
The next morning
In the end the stairs are still 10 times better than the ones they replaced. We’re just perfectionists, and when you spend the money to hire a professional you expect to receive a good product in the end. In the meanwhile we’ve hidden the questionable top stair by placing our flower pots in front of them.
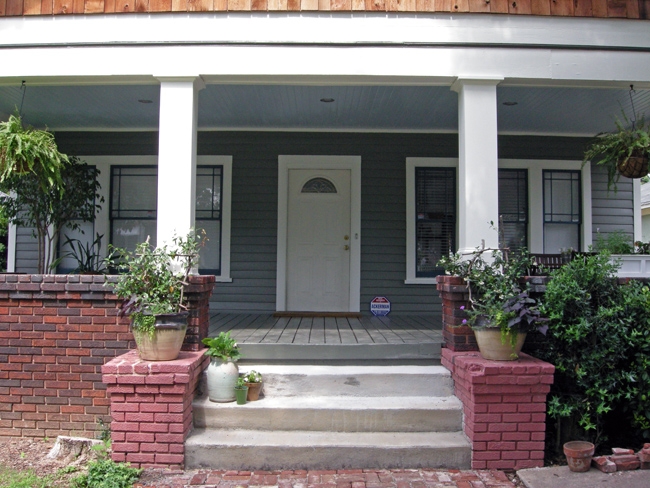
Finished steps
Now we’ve been debating painting the stairs. Anyone have any input?? For one we’re not sure if the “natural” look is the way to go? Secondly painting the stairs would help cover up the mishap. The only concern is that if you paint stairs once you’ll always have to repaint them from the wear and tear they’ll be getting. So if anyone has any input, suggestions, advice, whatever…please let us know!